Blog
How To Pack Your Backpack For Walking
There’s nothing worse than realising you’ve packed your rain jacket at the bottom of your pack, beneath your dry clothes, as a torrential downpour starts up.
A well-packed backpack makes your hiking far more comfortable and convenient.
Here are our top tips on packing for a long distance walking trip.
It's in the bag
Choosing the right bag for your trip is going to define how you pack it.
How long is your trip?
How much food and water are you going to carry?
How much clothing do you need?
If you’re going on a short overnight trip, sure you can probably borrow Uncle Bobs backpack from the 1980s. But if you’re going on a multi-day hike, you need a good bag with well-placed pockets and pouches to make your trip more convenient. It's a good idea to visit a retailer and make sure you have the best fit possible. An uncomfortable pack is not fun on any hike.

Only take the essentials
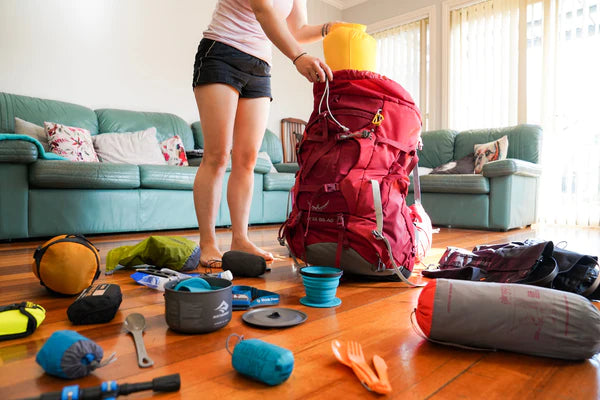
We’ve all over packed before. Learning what is essential is part of the hiking journey, but the main guiding principle is to make your pack as light as you can (without impacting your safety). Lay it all out on the floor. You’ll be amazed how many things can fit inside a well-packed bag.
Just because you feel a bit like Mary Poppins as you somehow stuff an entire kitchen, bedroom and toilet into your backpack, doesn’t mean you need to carry the actual kitchen sink (unless it is a compact Ultra-Sil Kitchen Sink of course) and your entire wardrobe.

Make a pile of the absolute essentials. That includes your tent, sleep system, first aid kit, your clothes, stove etc.
Then you can create your “but maybe I’ll need this” pile and be cutthroat. Will you need it every day or every second day? No. Then don’t bring it. There are some items, however, that should always be in your bag (even if you hopefully never have to use them), such as your emergency beacon, emergency blanket and first aid kit.
The less weight you have to carry the better your backpack is going to feel on your back, and the easier it is to pack.
Your first few trips you’re going to overpack. Take some short practice trips and see what you use and don’t use.
Frankly, if you’re comfortable 80%-90% of the time, that’s pretty amazing. You don’t need to carry an extra few kilos to be comfortable 100% of the time. Trust me, you’ll regret it when you have to carry that backpack for hours on end each day.
Layering
Backpacks can be broken down into a few different layers based on weight and use.
The heavier items want to be close to your back to maintain your centre of gravity.
The least used items go down the bottom, and the items you might need during the day go at the top. This way you won’t have to rummage about and pull everything out of your pack.
Bottom Layer
This is where you put the things you won’t need during the day while you hike, like your sleep system (bag, pad, pillow).
Middle Layer
This is where you put your heavier items. You want to maintain your centre of gravity. You can do this by packing your heavy items as close to your back as possible. This usually means your food and any other heavy items. If you have a water bladder it should also go here.
Top Layer
This is where you place your most used items. Or the items you want to be able to grab quickly when needed, like your puffy jacket.
This can change based on the hiking day. Take note of anything you had to rummage for the previous day and make sure you have easier access to it.
Some backpacks have separate compartments, for you to store things in. The very top compartment is where you should store your daily snacks and lunch, headtorch and first aid kit.
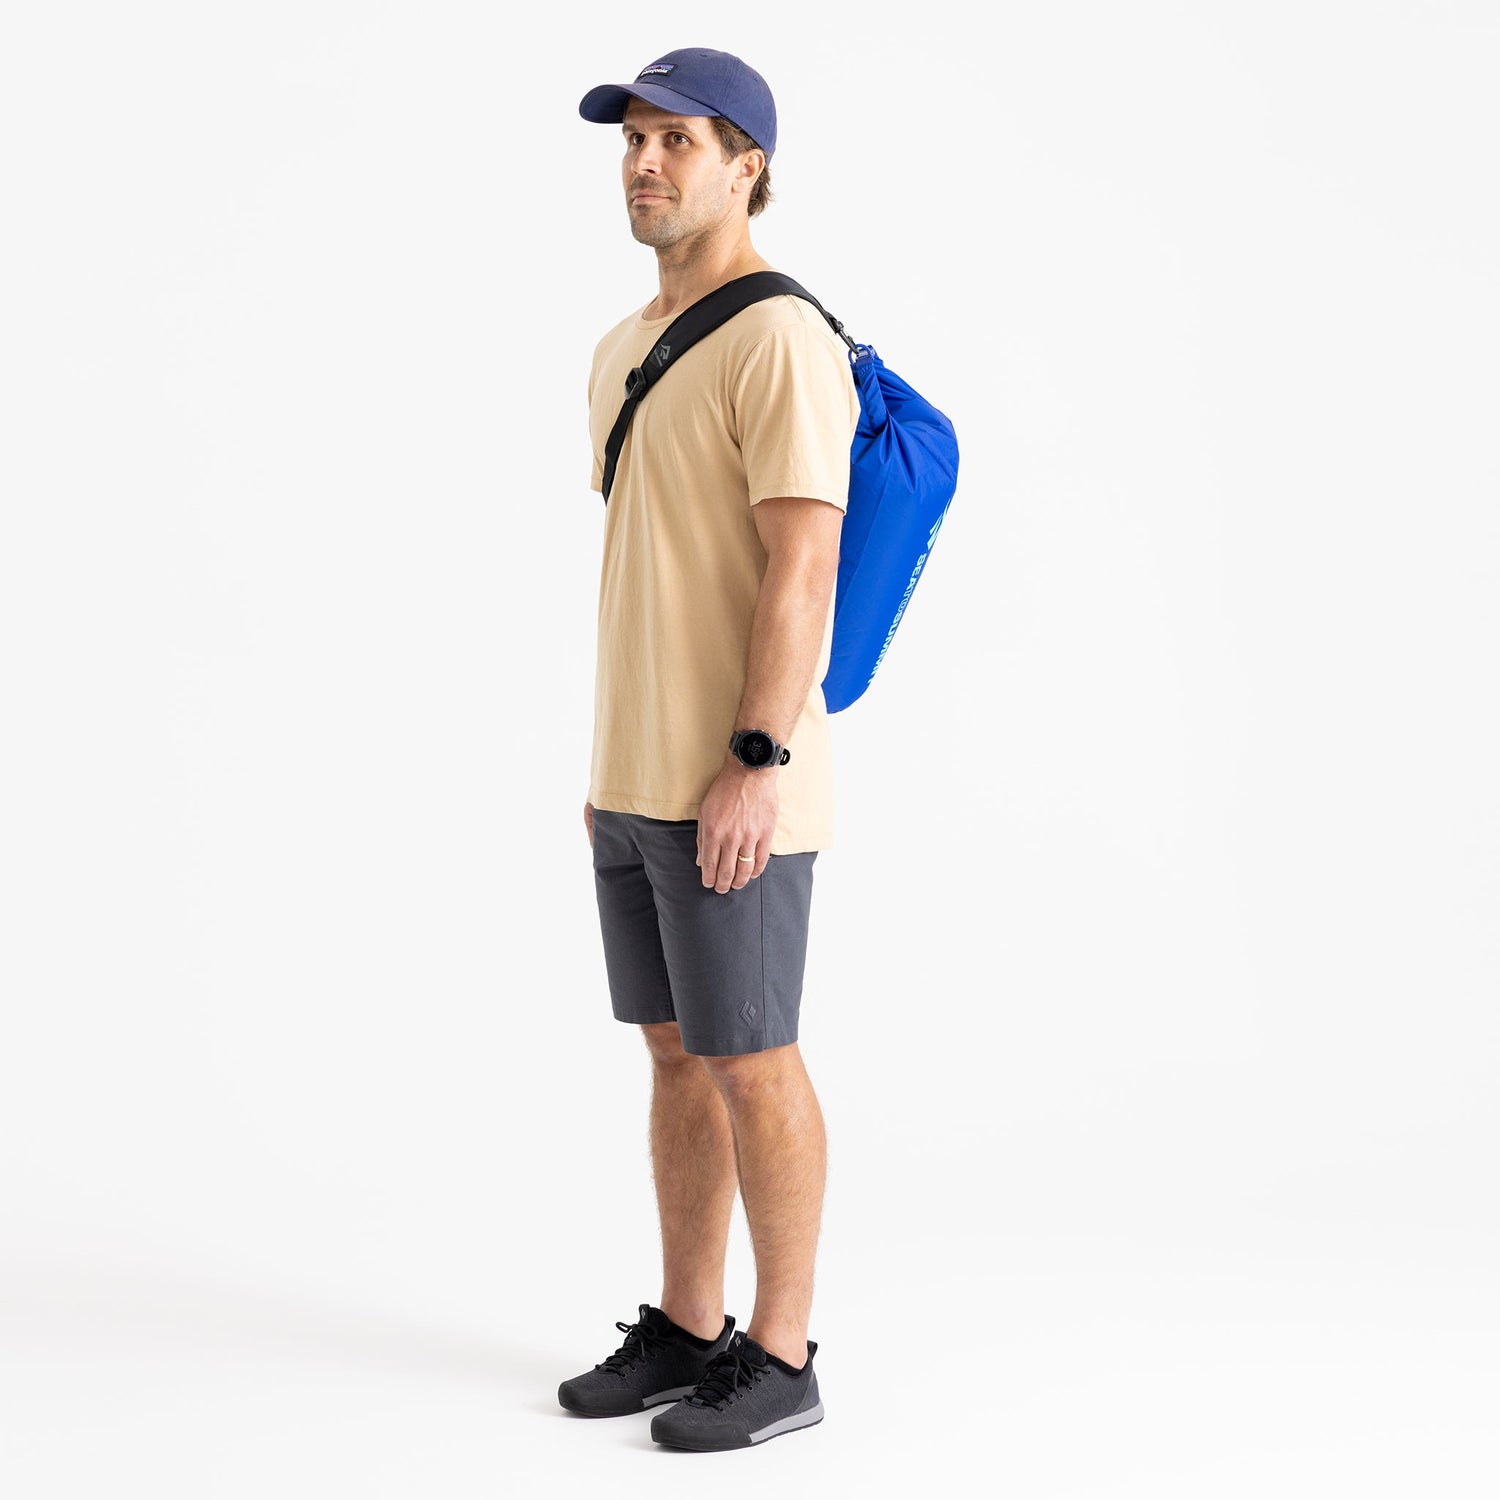
The Front Pouch
The front pocket is incredibly stretchy and fits a variety of items. Because it’s outside your pack, it’s a great spot for any items that might damage things in your pack, that doesn’t need to be kept dry or might get dirty.
Side Pockets
This is the best spot for water bottles. They’re easy to grab from here and put back while you walk.
Hip belt pockets - muesli bars or other small snacks, a little tube of sunscreen and lip balm, your phone (in a waterproof bag). And any other high use items that you don’t want to have to grab from within your pack.

Organisation
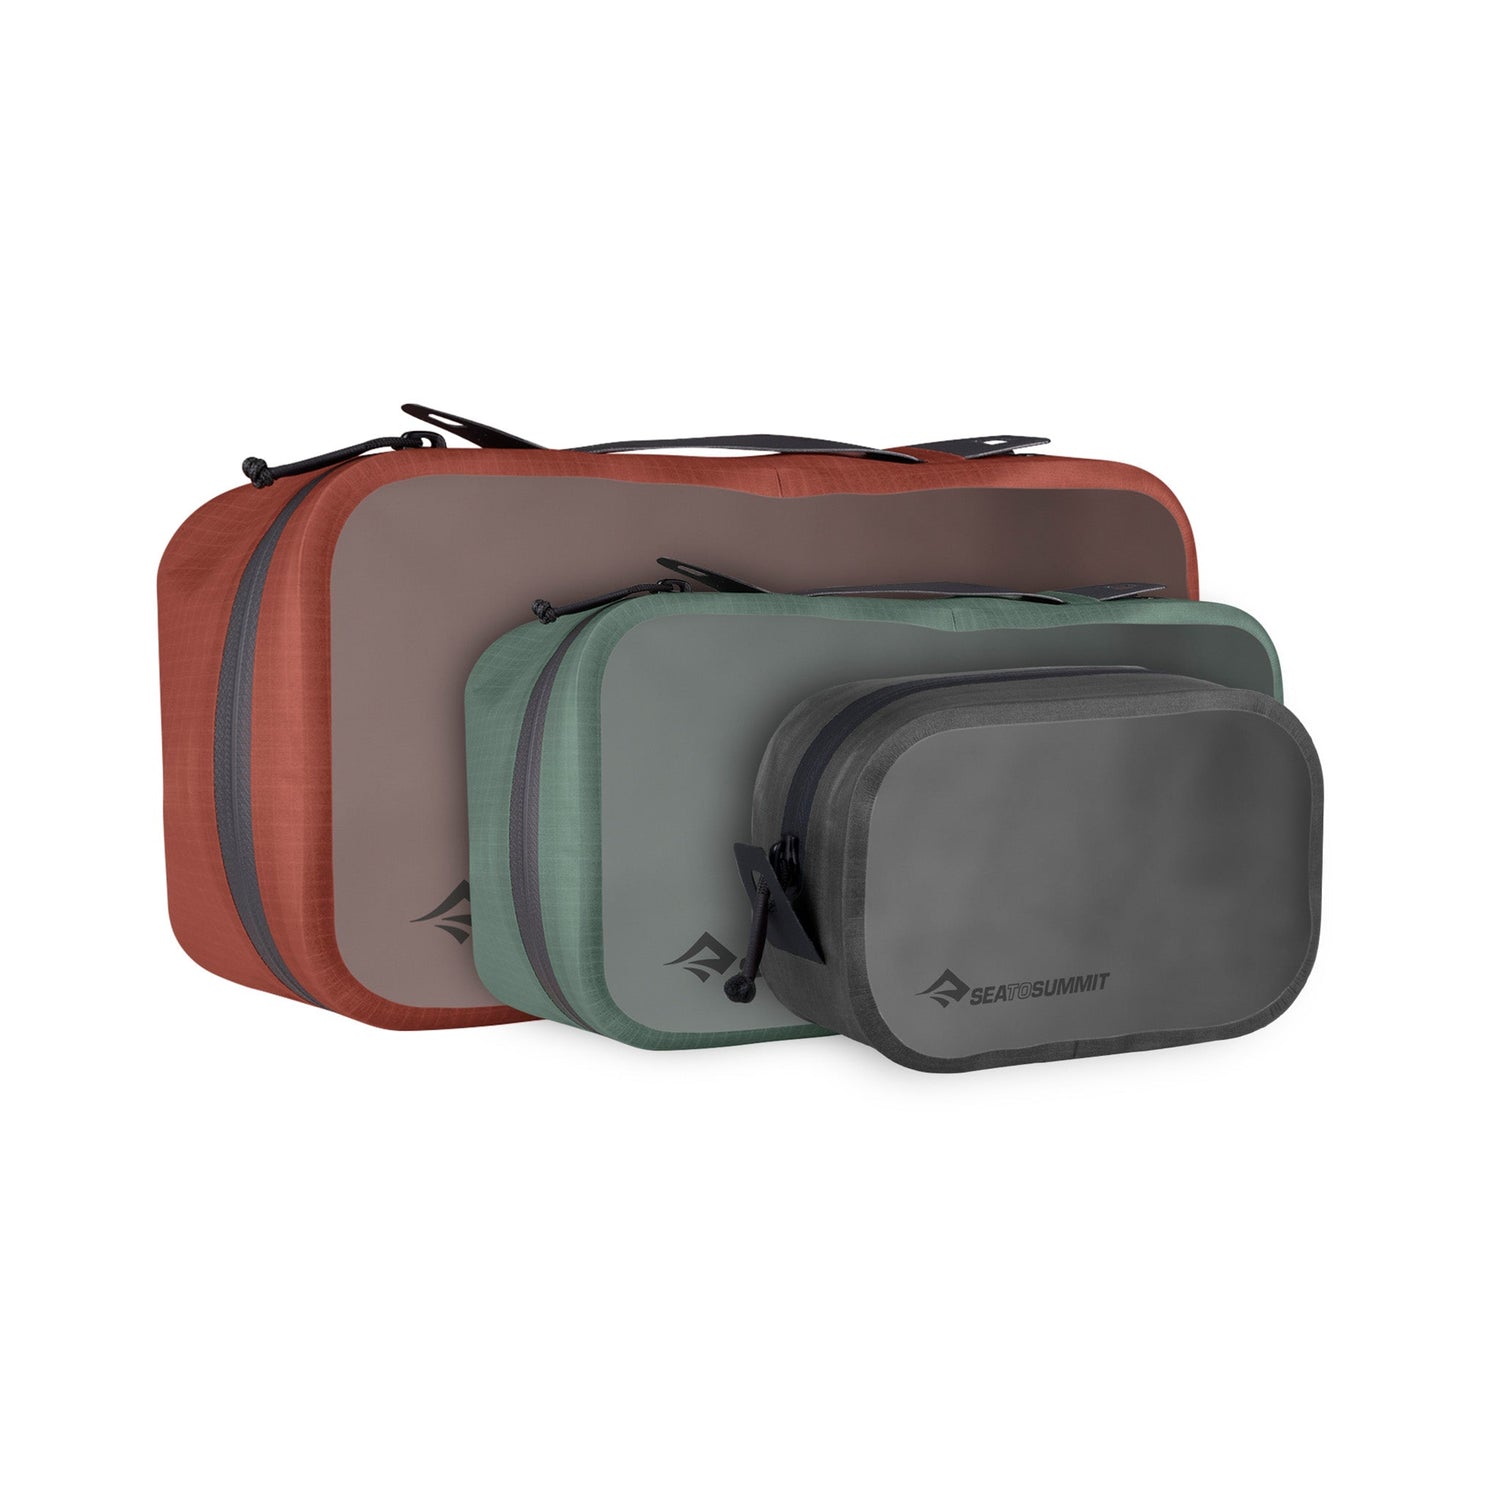
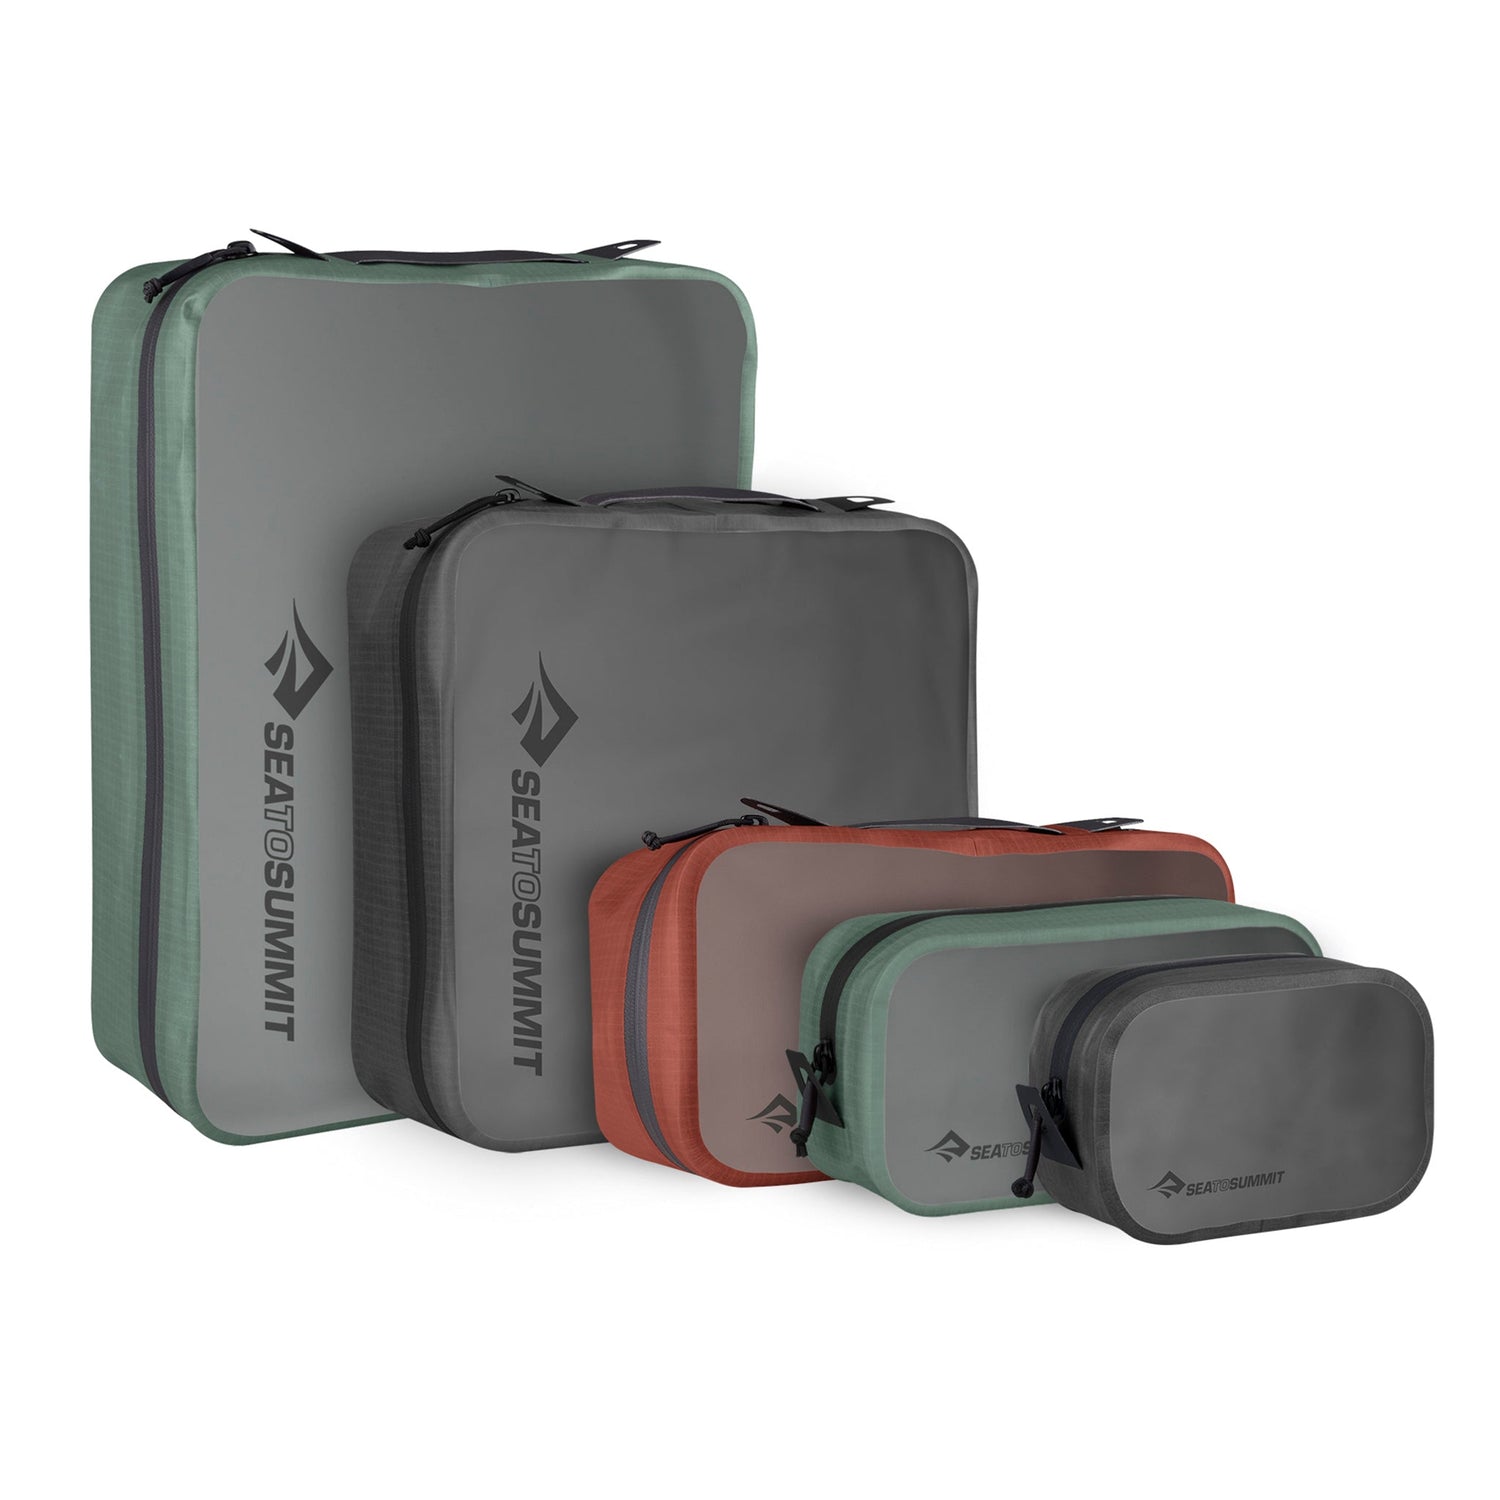
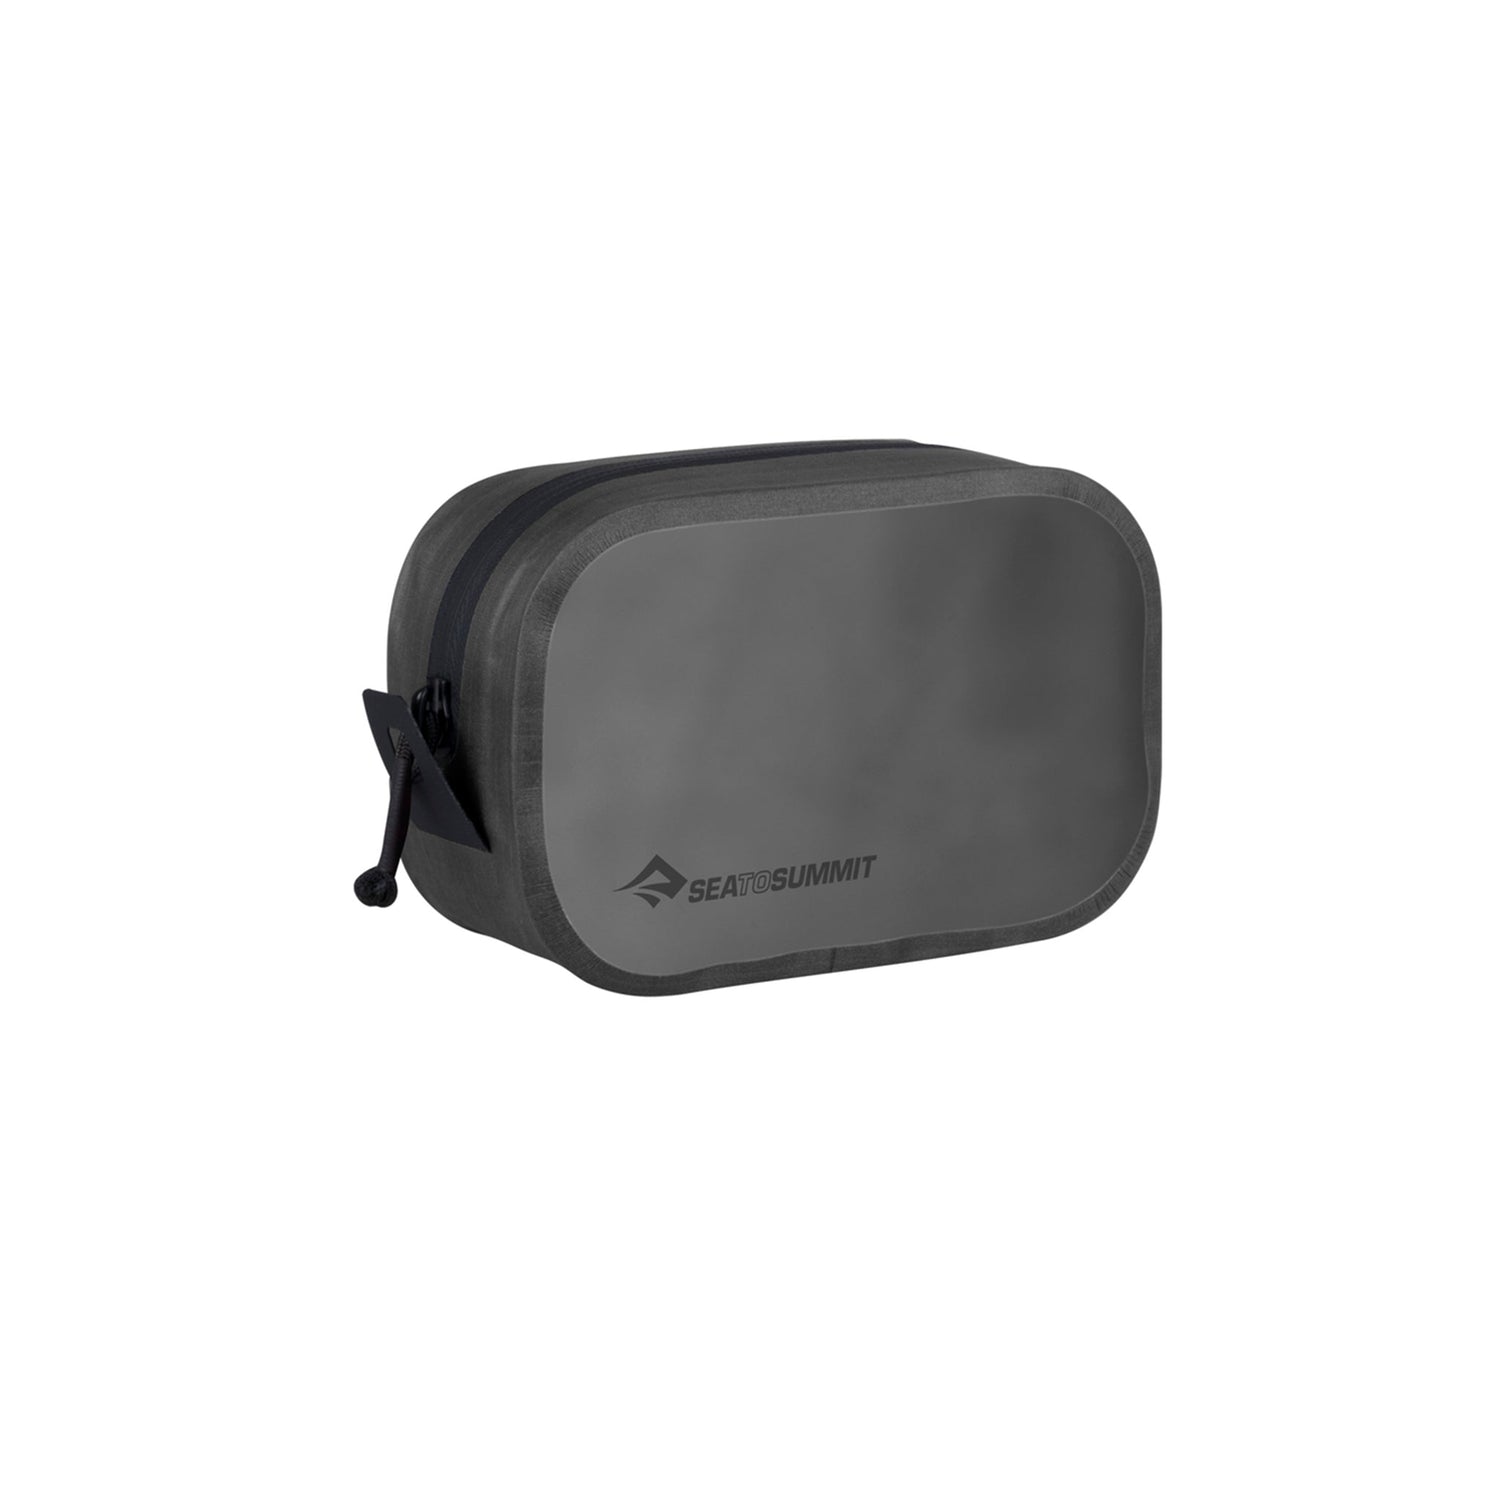
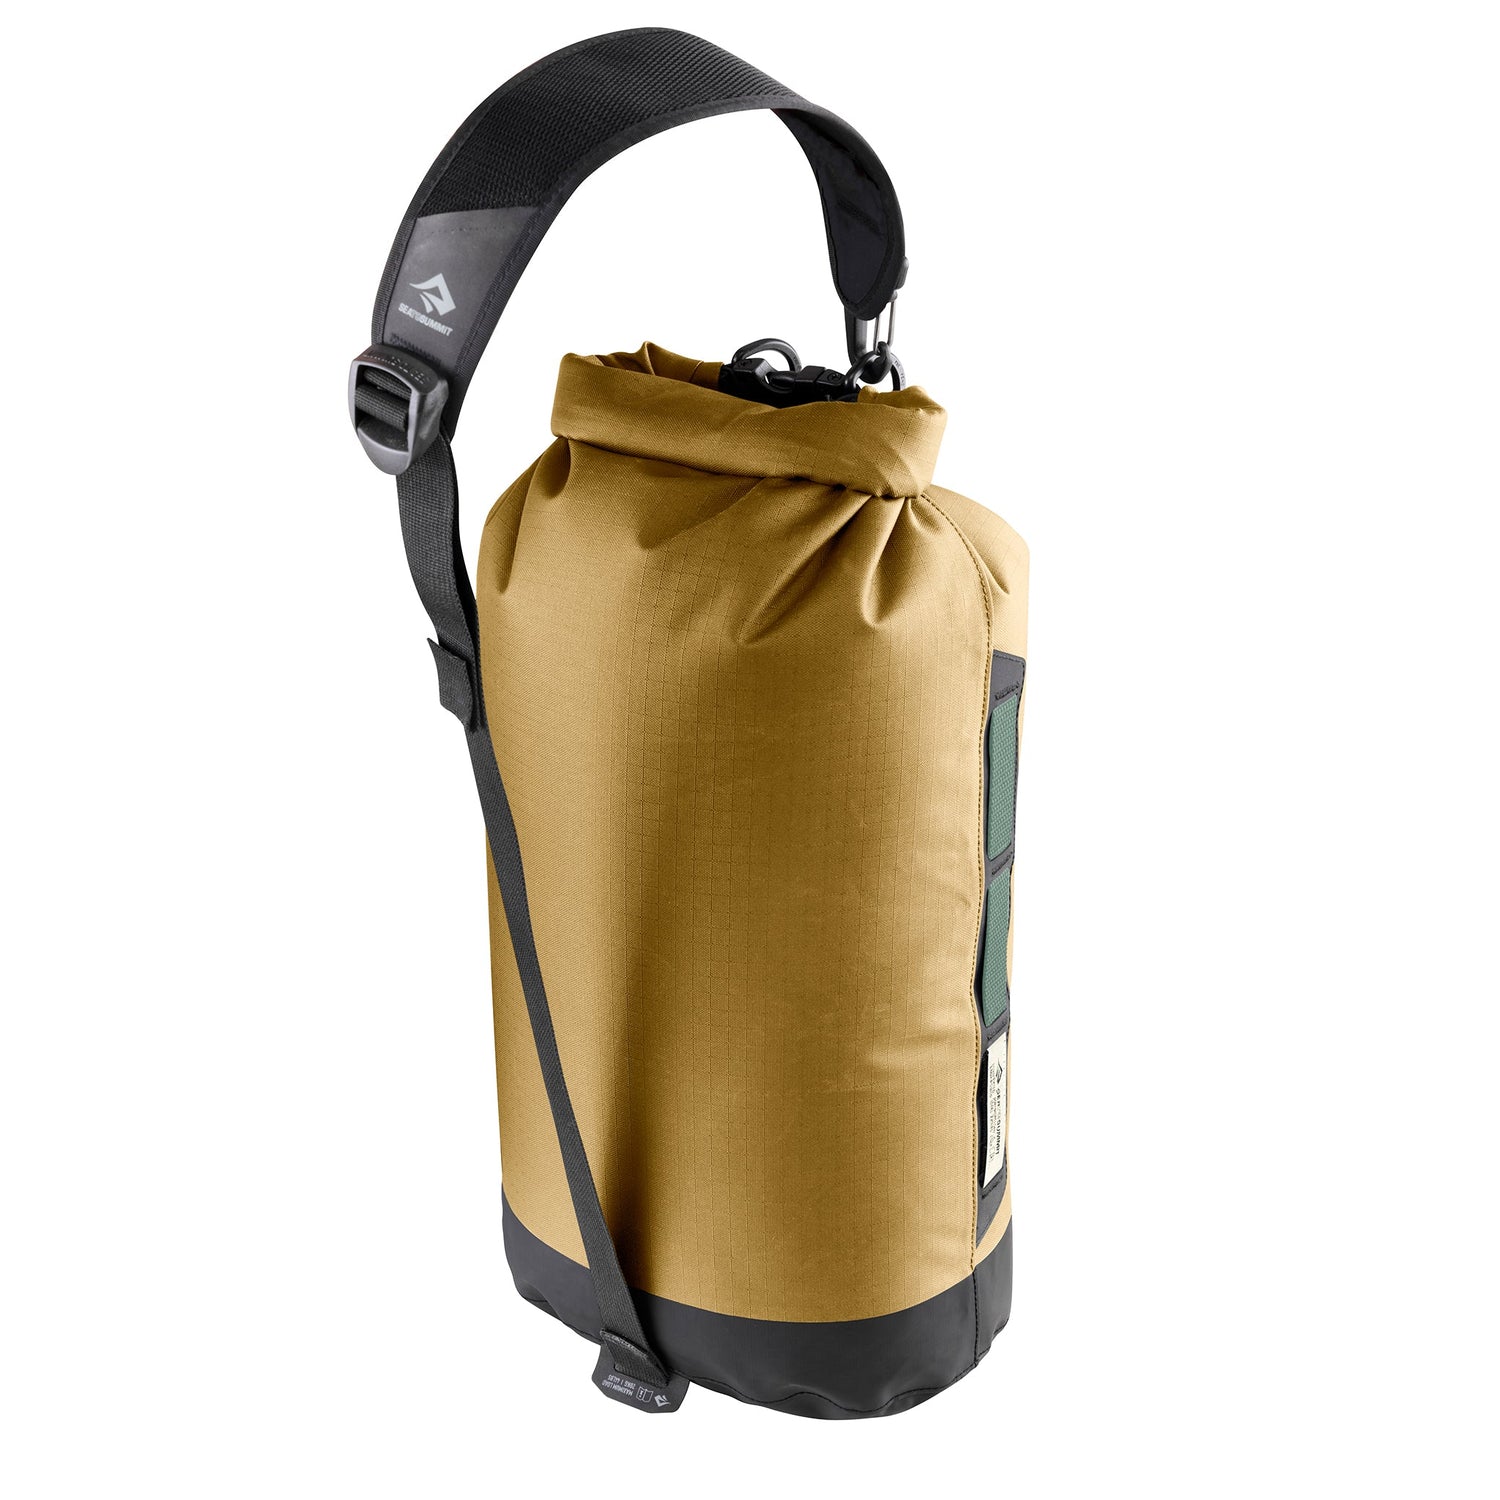
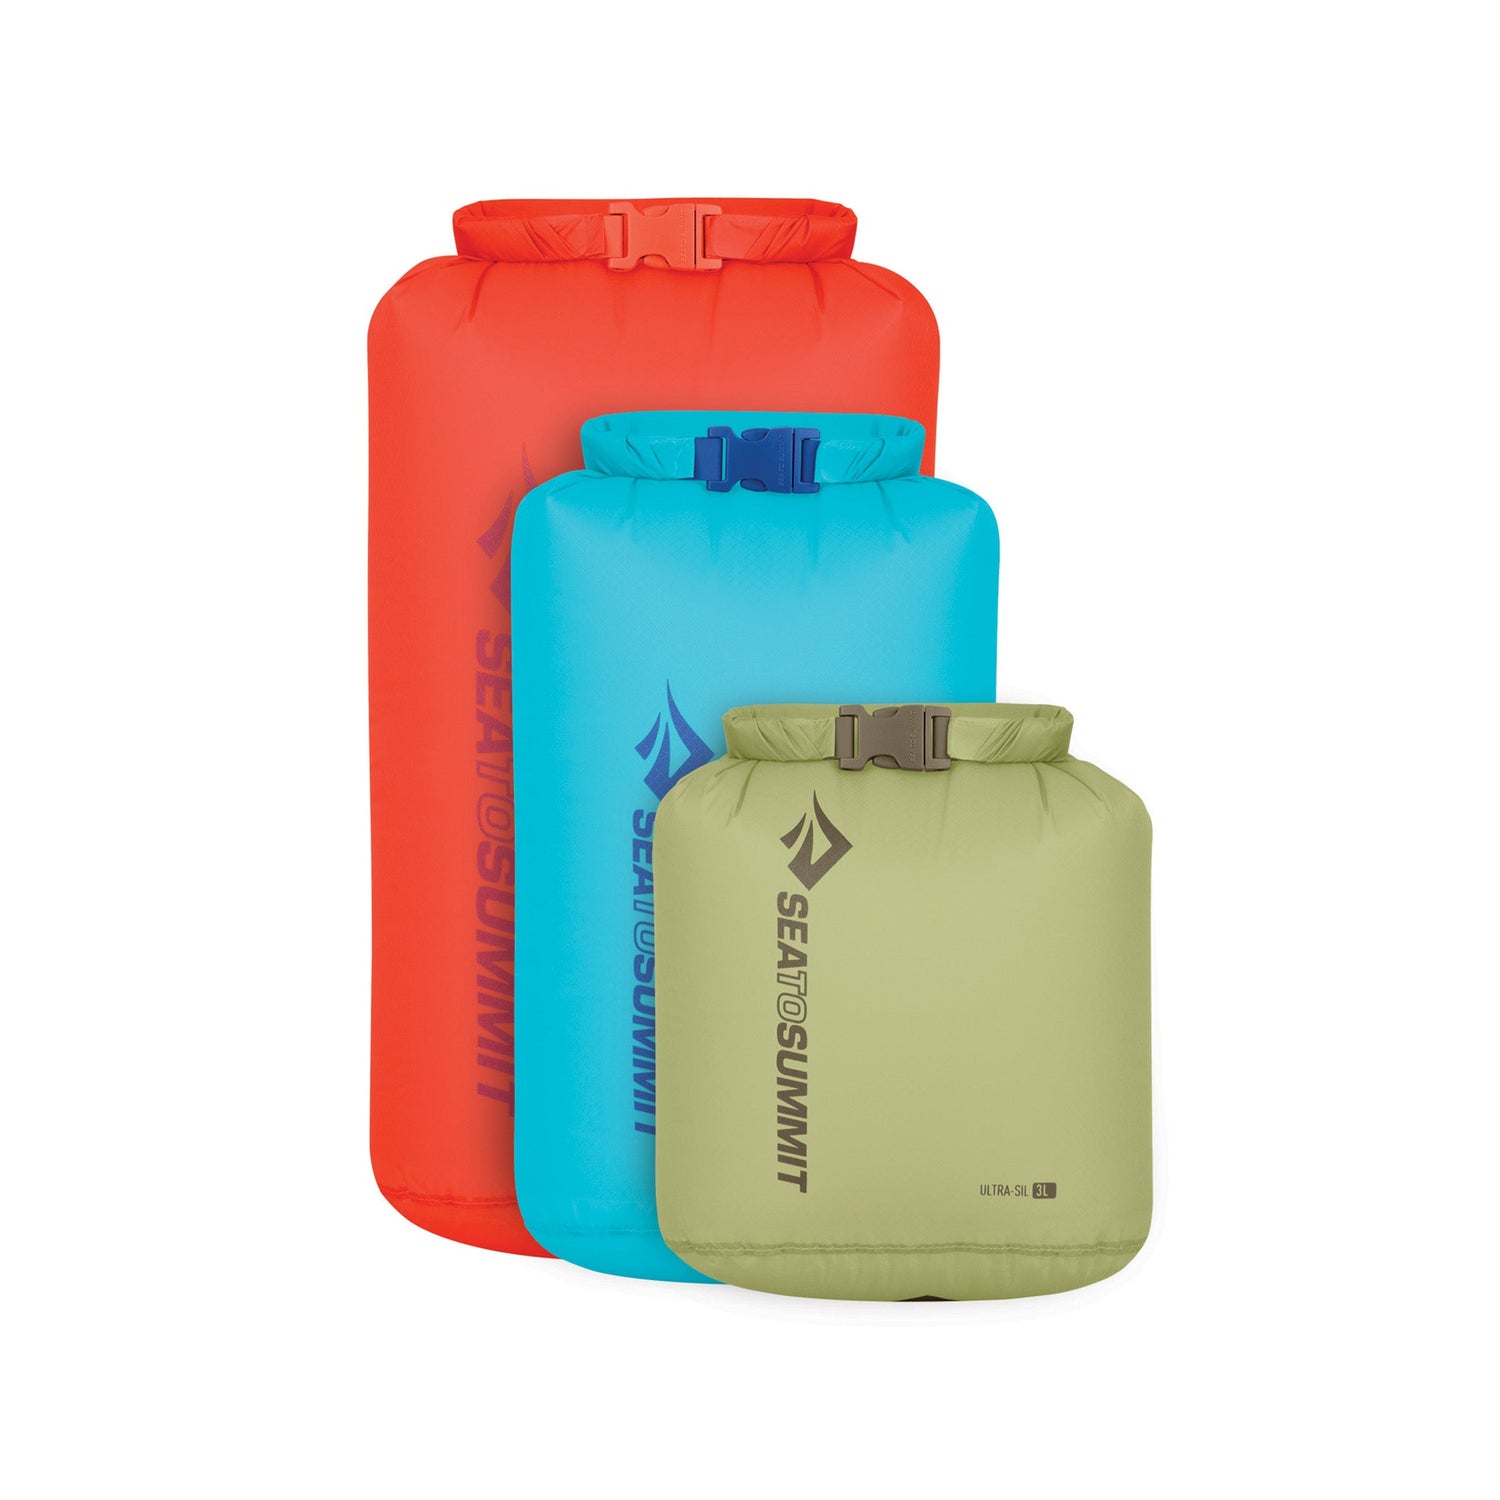
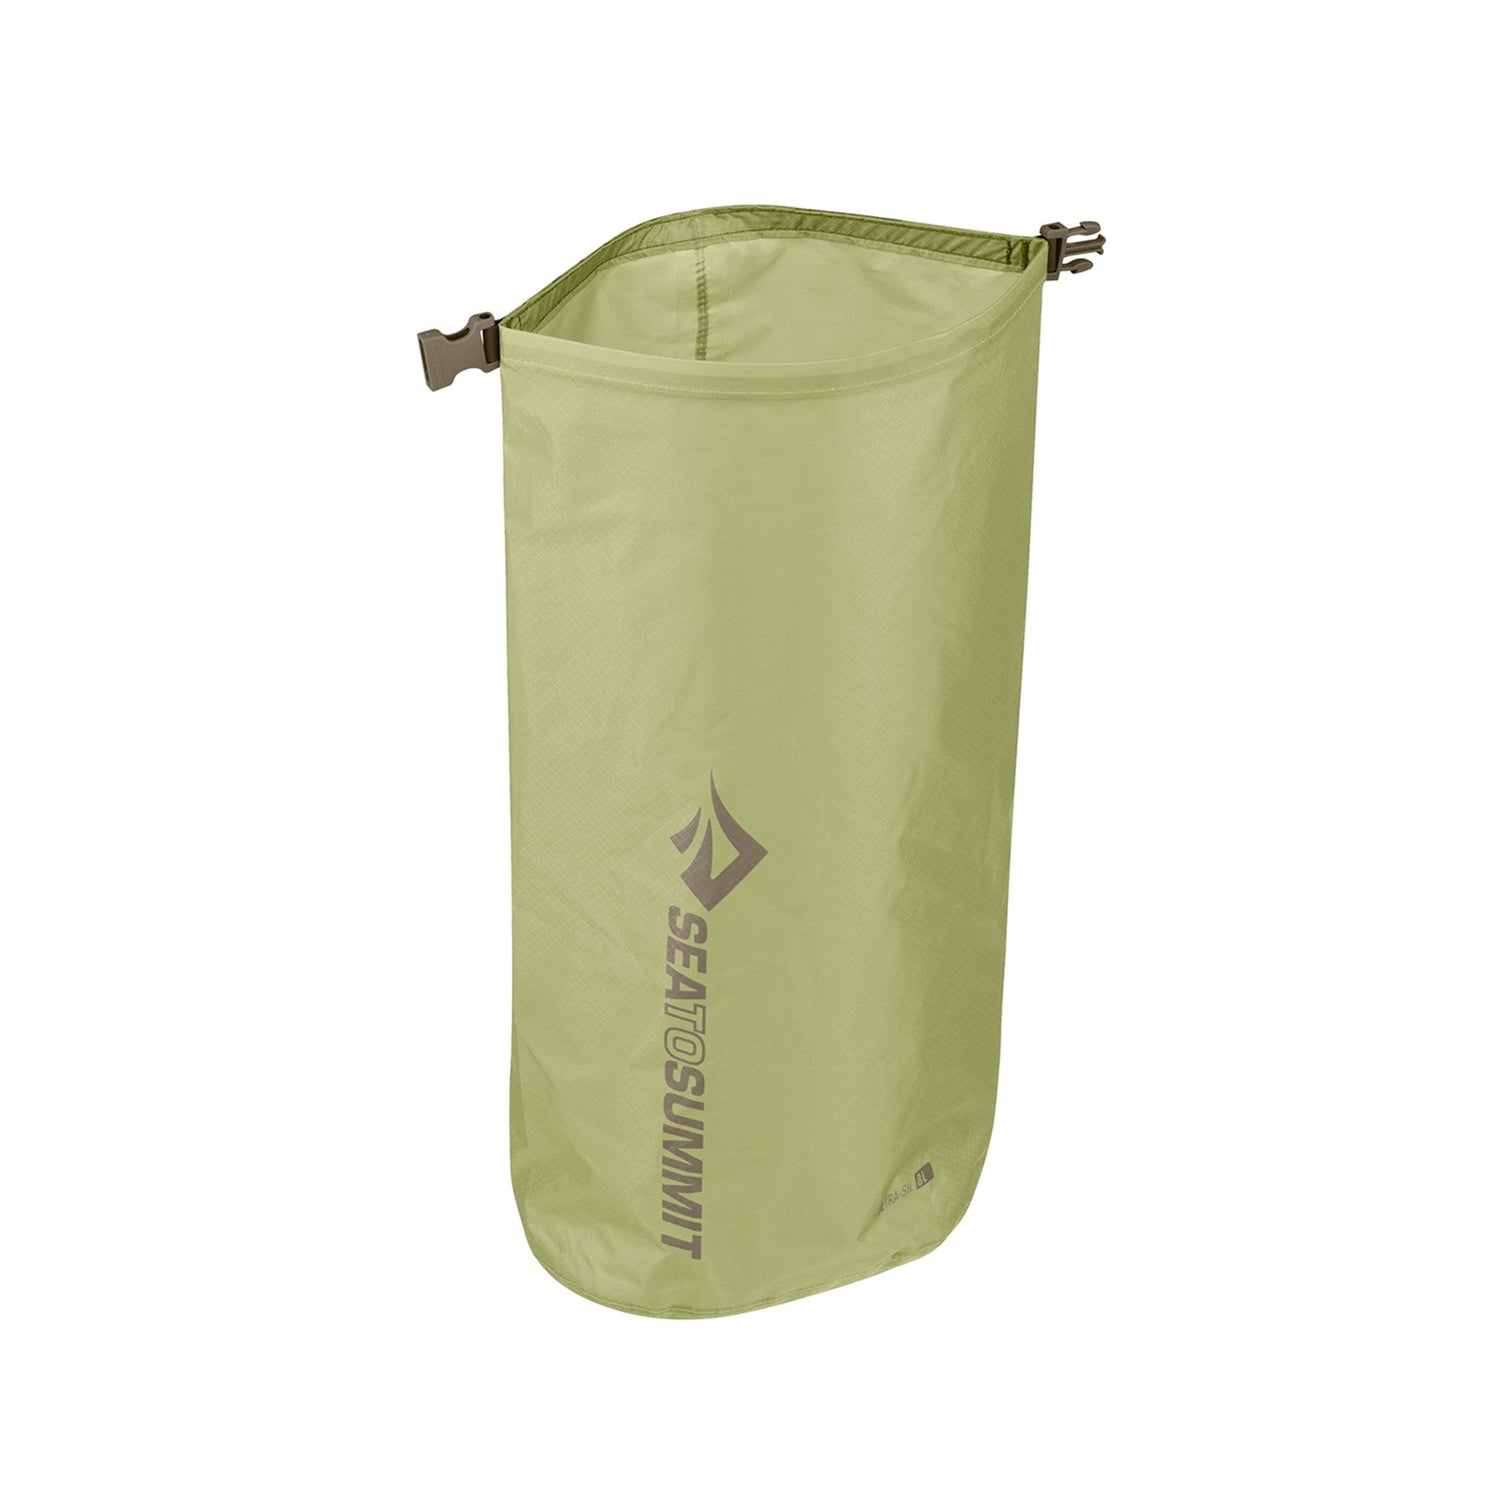
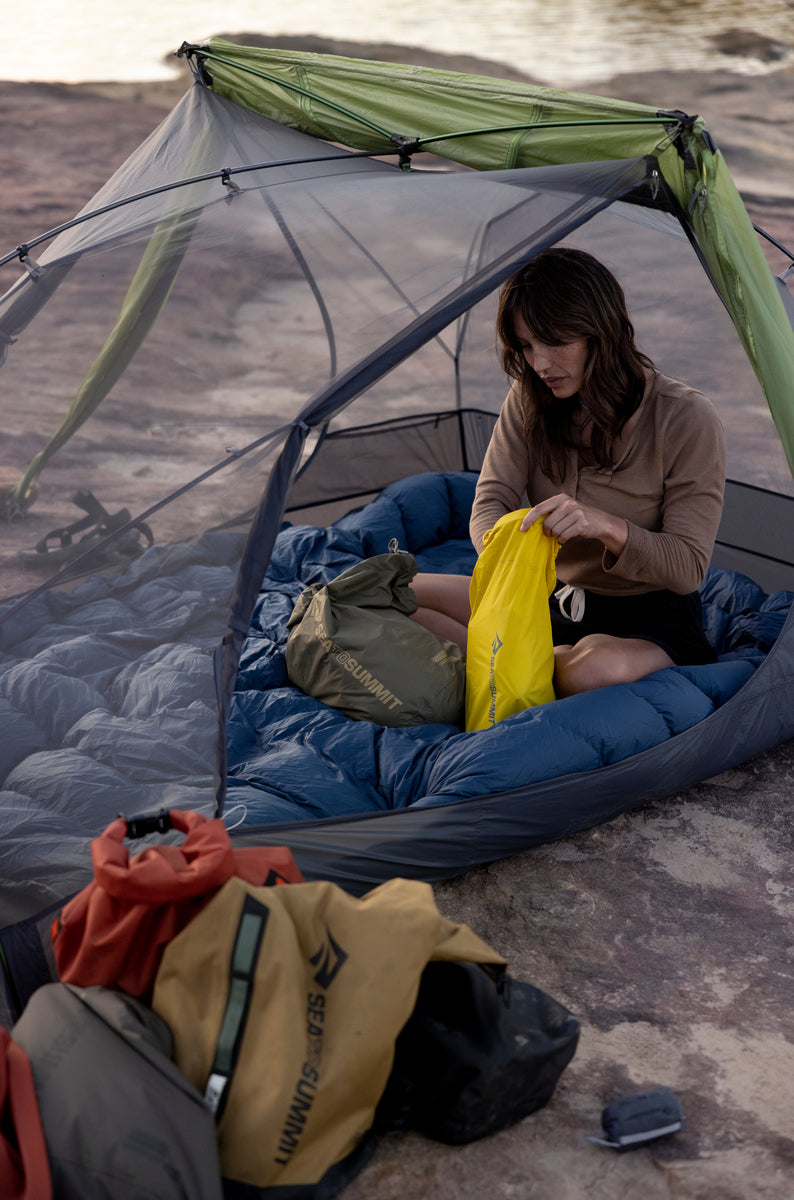
There are a few different ways you can organise your belongings; this comes down to your preferences. Having dedicated bags for specific things is the most convenient way to find things easily - either using packing cells, dry bags or zip lock bags.